
One Summer morning, an idea popped into my head, so I decided to get the Sewing Machine out and give it a try.

This idea produced a Ribbon Tote Bag, using 25mm Cotton Herringbone Tape Webbing from Bertie’s Bows.
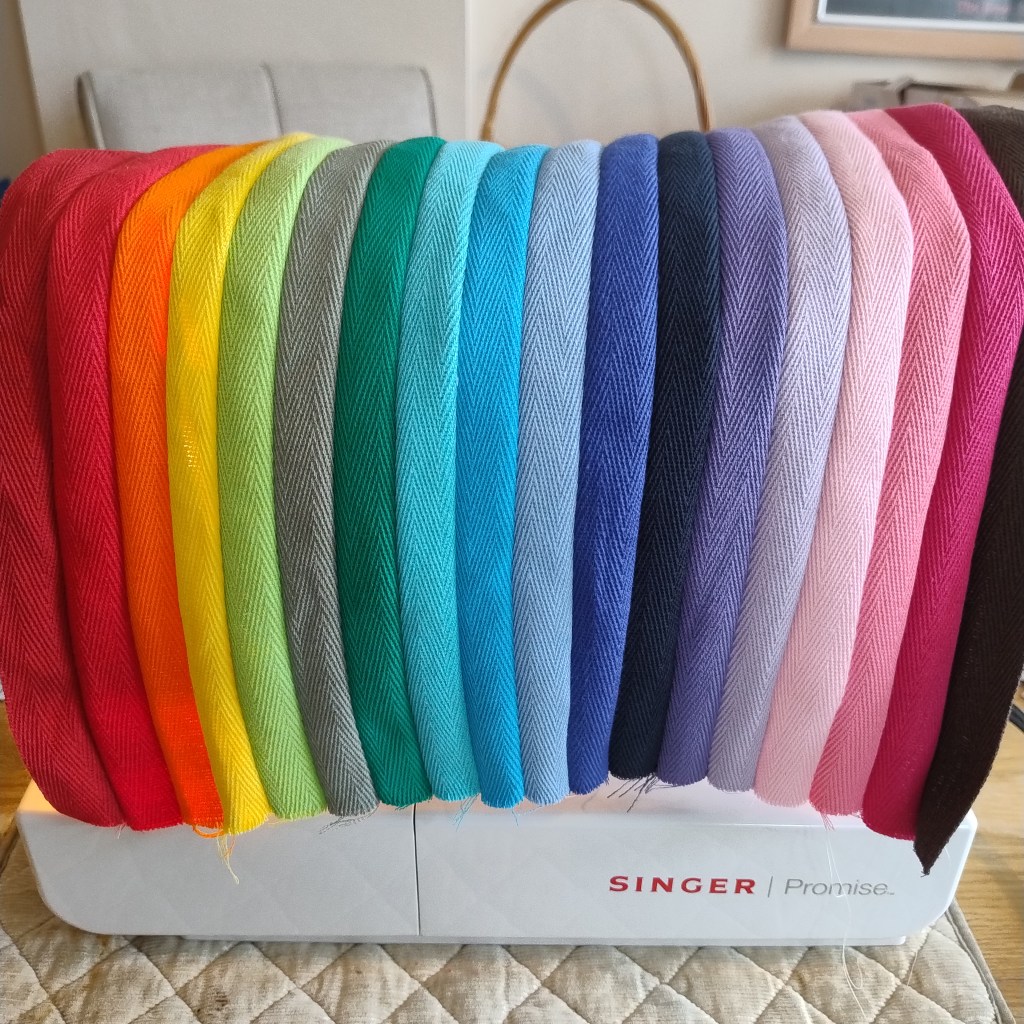
Using every colour available from the range, I created the Rainbow Ribbon Tote Bag. (On display at the Craft Counter).
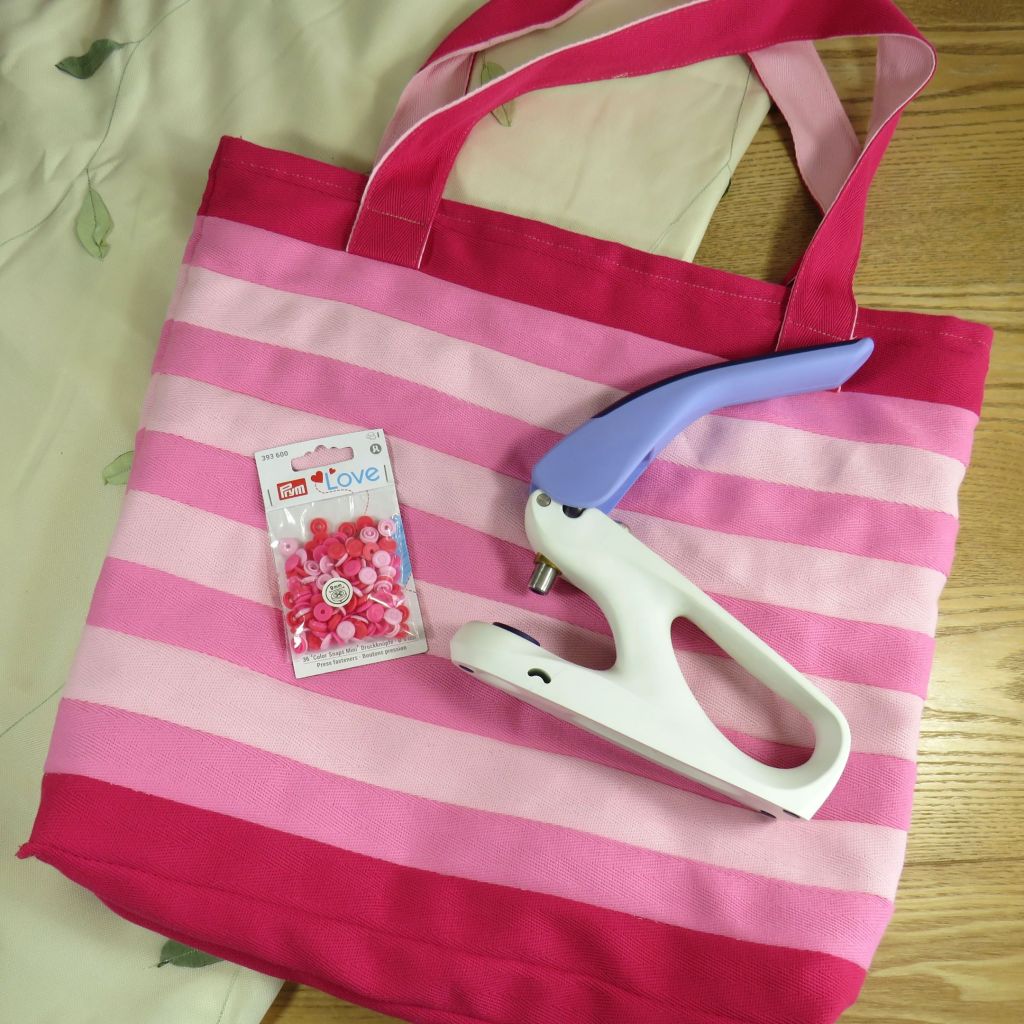
When I showed the bag to a close friend, she loved it, and asked me to make her a Pink Ribbon Tote Bag. This time I used 40mm Herringbone Tape in Pale Pink (07), Mid Pink (08) and Dark Pink (09).


I was sad to see the Pink Ribbon Tote Bag go, so I made myself a Mini Blue Ribbon Tote Bag. This was made using 40mm Herringbone Tape, in Aqua (17), Turquoise (18) and Royal Blue (20).
Then, Mini Minion decided he wanted a Mini Ribbon Tote Bag too! This was made using 40mm Herringbone Tape, in Cranberry (06), Dark Pink (09), Aqua (17), and Lilac (22). Plus he managed to sew most of it himself! (He’s 8 years old).

After sharing on social media, I received messages from a few people asking if I could provide instructions on how to make them. I was happy to oblige, however I do feel it’s necessary to highlight here that I am not a professional seamstress, so my instructions might be a bit rough around the edges.

A bit like my sewing abilities!
Check out the state of my Machine Needle, after I misjudged a stitch.
Luckily, I had some spare Schmetz Machine Needles on hand.
With that in mind, here are my (rough around the edges) instructions on How to make the Ribbon Tote Bag.
If you would like to view a PDF copy of these instructions, then scroll down and click the Download Button.
How to make a Ribbon Tote Bag
The Ribbon Tote Bag is a simple, but versatile project, which allows you to make your bag any size, shape, colour or pattern, you desire.
I have made this design, using both 25mm and 40mm Herringbone Tape, and while I loved them both, the 40mm version was much easier to make!
You will need
Bertie’s Bows Cotton Herringbone Tape Webbing
Gutermann Sew All Thread
A Sewing Machine
(probably tea and biscuits too) – optional
The Pattern
The Rainbow Tote Bag, and Pink Tote Bag were both made to the same dimensions.
The Mini Tote Bags were made to smaller dimensions (which will be provided later), but the making principle is the same for both.
Ultimately, what you’re trying to achieve is a rectangular panel of ribbon strips, that have been sewn together.


For the ‘regular’ tote bag, I wanted my bag to be 38cm wide by 40cm high, and 9cm deep.
This meant my panel needed to be at least 47cm wide by 89cm long.
Once you have selected your colours, start by cutting your Herringbone Tape into 50cm lengths.

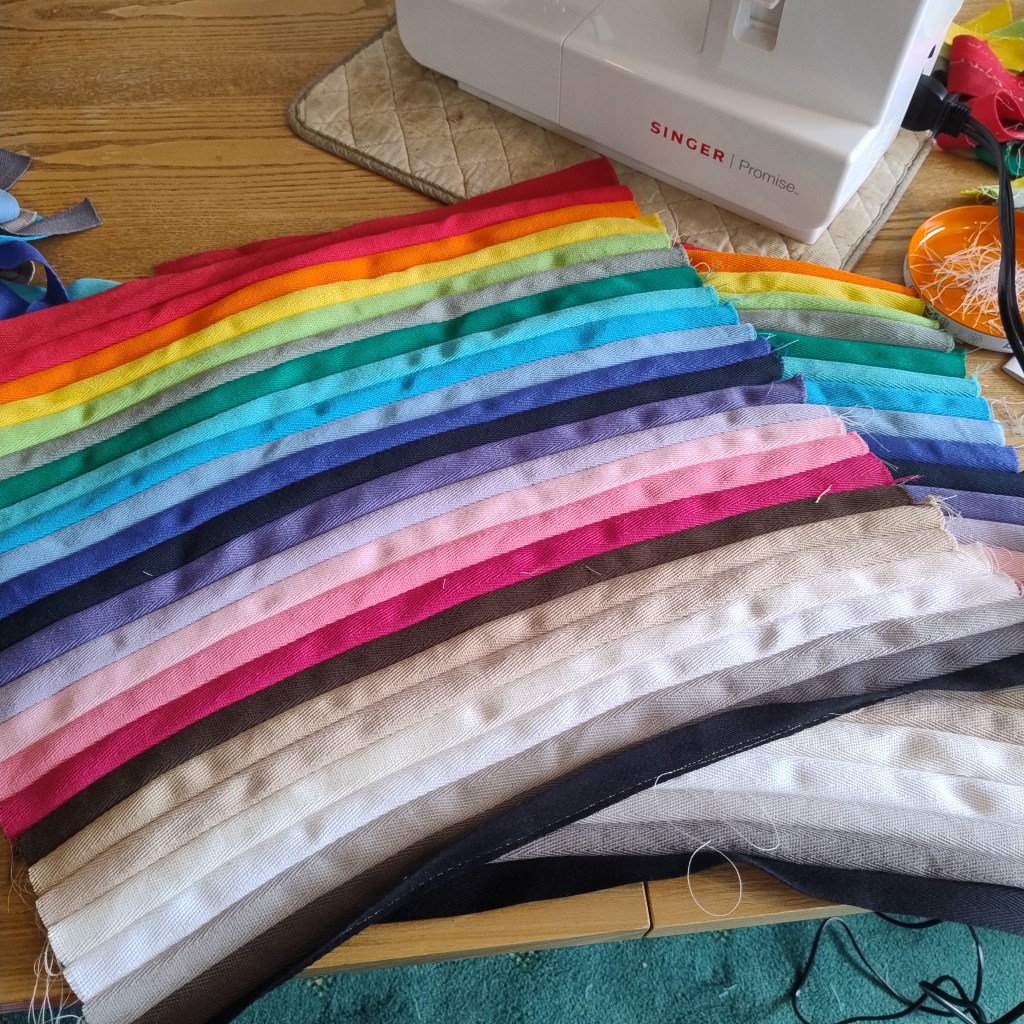
Lay the pieces out in the chosen pattern
Starting from the base, sew the pieces together, working towards the top of the bag, to ensure the pattern is even.
Notes on Sewing Techniques1

Details on the Colour Patterns shown
Rainbow
In order from
Top to bottom
Cranberry (06)
Red (05)
Orange (25)
Yellow (24)
Lime (14)
Sage (16)
Green (15)
Aqua (17)
Turquoise (18)
Sky Blue (19)
Royal Blue (20)
Navy (21)
Purple (23)
Lilac (22)
Pale Pink (07)
Mid Pink (08)
Dark Pink (09)
Brown (13)
Natural (12)
Light Natural (11)
Ivory (10)
White (01)
Silver Grey (03)
Charcoal (04)
Black (02)
Handles
Natural (12)
Turquoise (18)
Pink Tote
Base and Top
Dark Pink (09)
Mid Section
Mid Pink (08)
Pale Pink (07)
Handles
Dark Pink (09)
Pale Pink (07)
Blue Mini Tote
Base and Top
Royal Blue (20)
Mid Section
Turquoise (18)
Aqua (17)
Handles
Royal Blue (20)
Turquoise (18)
Aqua (17)
Once you have your finished panel, it’s time to sew it together to make it look like a bag.
Fold your panel, so the correct side (which will become the outside of the bag), is face to face. Align the tops, which will become the bag opening. Pin along this edge to hold in place.
Now you want to mark out where you are going to sew.

Fold the bag in half length-ways, to find the centre of the material.
Measure out from the centre an equal distance, and use a fabric marker/pencil to mark out your sewing line.
Use a straight stitch to sew each edge.
Hints and Tips
Don’t sew the top strip of ribbon, when sewing your side seams.
Instead, fold these pieces back over on themselves, and run a straight stitch along the edge to form a rim at the opening of the bag.
Once this has been done, complete the side seam stitch.
You can fold the top piece over, after sewing the sides, but I found it easier to fold the top over first.
Next, we’re going to create a simple gusset effect.
With the bag still inside-out, flatten the base section, and align with the side pieces. Sew a straight stitch across this edge. This will close off the bottom of the bag.
No bag is complete, without some handles (or straps)
To achieve suitable strength/rigidity, I sewed two pieces of Herringbone Tape together, to create the bag handles/straps.
I wanted to have fun with the design, so I chose contrasting colours on each bag.
First you will need to determine the required length.
For my first attempt, I simple cut each piece of Herringbone Tape to 1 metre (100cm) long, and cut it down later.
Sew a simple straight stitch along the edge of the Herringbone Tape, ensuring that the pieces are aligned.
Pin the straps to the bag, on one side, leaving the other end free. This will allow you to get the perfect length.
Tip
When testing out the length of the handle/strap, try holding it to your side. Adjust the length so the bag doesn’t drag on the floor when you’re walking. Don’t forget to make sure there is enough room to slip it on your shoulder, for when your hands are full!
Attach the handle straps to the bag
Pins the straps to the bag, ensuring they are equal distance from the centre.
Sew in position, using a straight stitch to create a box with diagonal crosses.


Tidying up
I don’t mean your craft room, I mean the bag!
Although the craftermath from this project was pretty epic!!
Trim any excess thread strands, including any frayed edges on the end of the Herringbone Tape. The internal seams can be covered using a Bound Seam, with a matching piece of Herringbone Tape.
Open or Closed?
Typically tote bags have an open top, but you could add a zip to close it off, if preferred.
I chose to add an Anorak Press Fastener to my bag, using the Prym Vario Creative Tool.
I would recommend using Prym Power Dots, to protect the Herringbone Tape from tearing during use.
Thank you for reading our Blog! We hope you enjoy making your own Ribbon Tote Bag. We’d love to see your makes, so feel free to share with us on Facebook/Instagram
@minionsofcraft
We have included brief summary of these instructions below. Simply click on the image to zoom in, or download a PDF copy.
If you have any questions, check out our Q&A Section below, or send us a message.


SHOP THE RANGE

Cotton Herringbone Tape Webbing
Bertie’s Bows
Widths 10mm, 15mm, 25mm, 40mm
Available in 25 colours
From £0.52 per metre

Col. 169 Sew All Thread 100m – Vellum
Gutermann
£ 1.65 per 100m spool
Also available in 250m spool

Col. 386 Sew All Thread 100m – Bright Blue
Gutermann
£ 1.65 per 100m spool
Also available in 250m spool
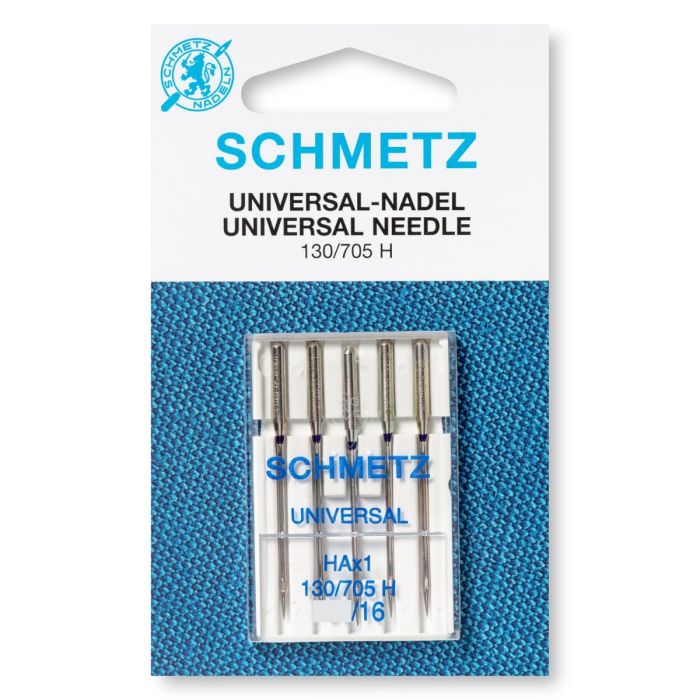
Schmetz Universal Machine Needles – Assorted Size 70-90
Schmetz
£ 1.90 per pack of 5
Also available in Assorted Packs of 10
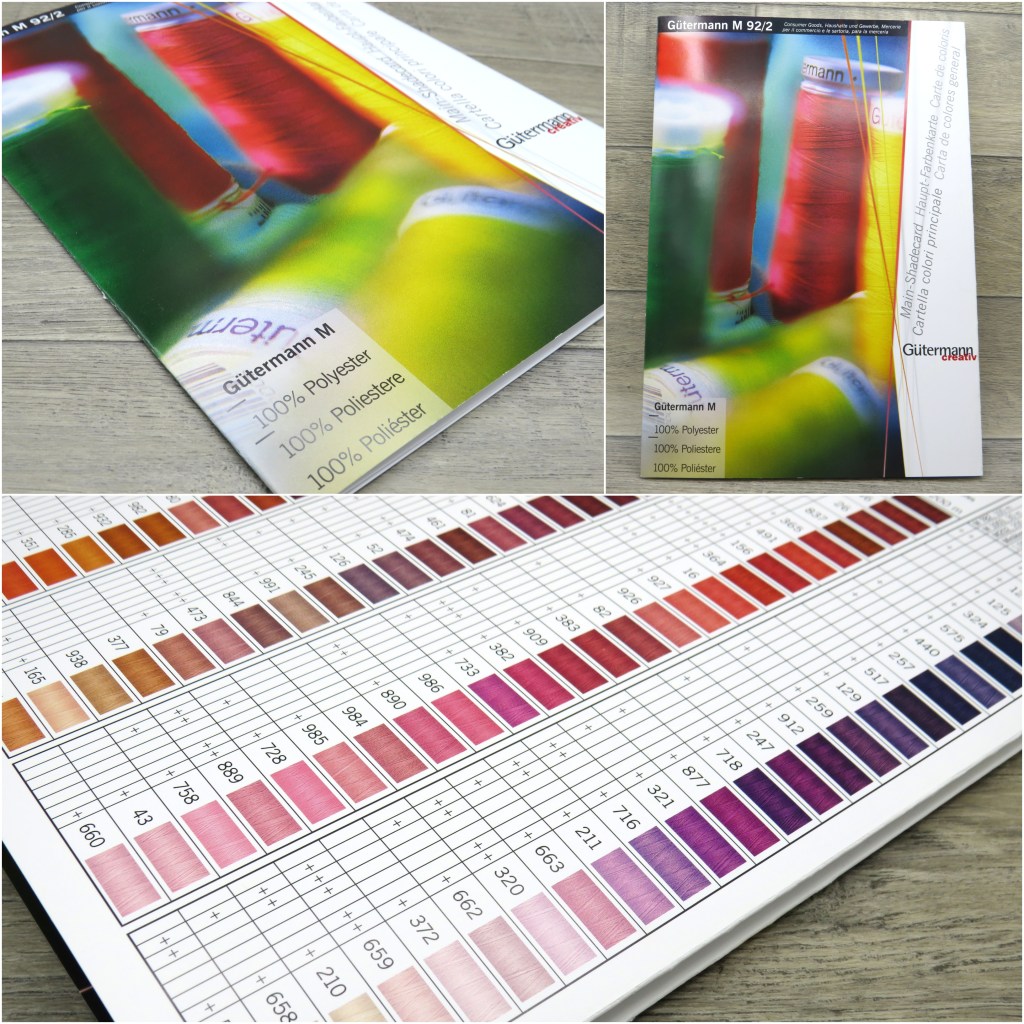
Gutermann Polyester Thread Printed Shade Card
Gutermann
£ 1.00 each + P&P
FREE when collected from the Craft Counter
Prices correct at time of writing.
Please check website for current price and availability.
- For the Rainbow Tote Bag and the Pink Tote Bag, I used a simple Plain Seam Stitch, working as close to the edge of the Herringbone Tape as possible.
For the Mini Tote Bags, I opted to butt the Herringbone Tape together, and join with a wide zigzag stitch. This helped to achieve a flatter join, which felt preferable on the smaller bag. ↩︎
Q & A Section
How much Herringbone Tape will I need to buy?
That depends on what size Tape you use, and what size bag you make. But let’s break it down, based on the examples shown.
Rainbow Tote Bag
25mm Herringbone Tape
1 metre of each colour
25 colours used
(plus handles)
29 metres total
Pink Tote Bag
40mm Herringbone Tape
5 metres of Mid Pink (08)
6 metres of Pale Pink (07)
6.5 metres of Dark Pink (09)
17.5 metres total
How long does it take to make the bag?
The Rainbow Tote bag took me most of the day to finish.
This was mainly because I was experimenting with different ideas, and learning as I went along. I was also stopping frequently to take photos and videos of each stage.
The Mini Tote Bag took me about an hour, from start to finish.
What skill level is this suitable for?
I am intermediate, hobbyist sewer, and I managed to teach our 8 year old son to make his own version. It’s not a complicated pattern, so would suit a beginner. The trickiest part is sewing the ribbon pieces together straight! (Make sure you have a stitch ripper to hand).
How do I scale the design?
The Bag Width, Bag Height and Bag Depth, can be any size.
Width x Height = Front Section of Bag
Width x Depth = Base of Bag
Side Sections = Half of the Bag Depth x Bag Height
Length of Ribbon pieces = Width + Side Section + Side Section + a bit extra
Length of Ribbon panel = (Height x 2) + Depth + a bit extra
Did you find this guide helpful?
If you found this guide helpful, then feel free to share with friends/family using the Social Media links.
If you have happened to stumble across our helpful guide, then please like and follow our page on…
Facebook – Instagram – Pinterest – Twitter – Threads
Did we make a mistake?
The information contained within this blog has been provided for your convenience, and while we make every effort to ensure all information is correct and accurate, sometimes we make mistakes (like tyops or copying and copying & pasting errors).
If you do spot a mistake, and would like us to correct it, please drop us an email with as much information as possible, and we will update the information as soon as possible.
Thank you for reading
#wearemoc
